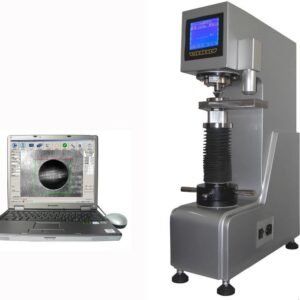
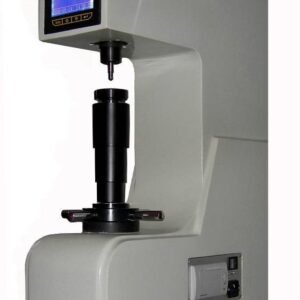
Time TH3000 series Load-cell Rockwell Hardness Tester
Description
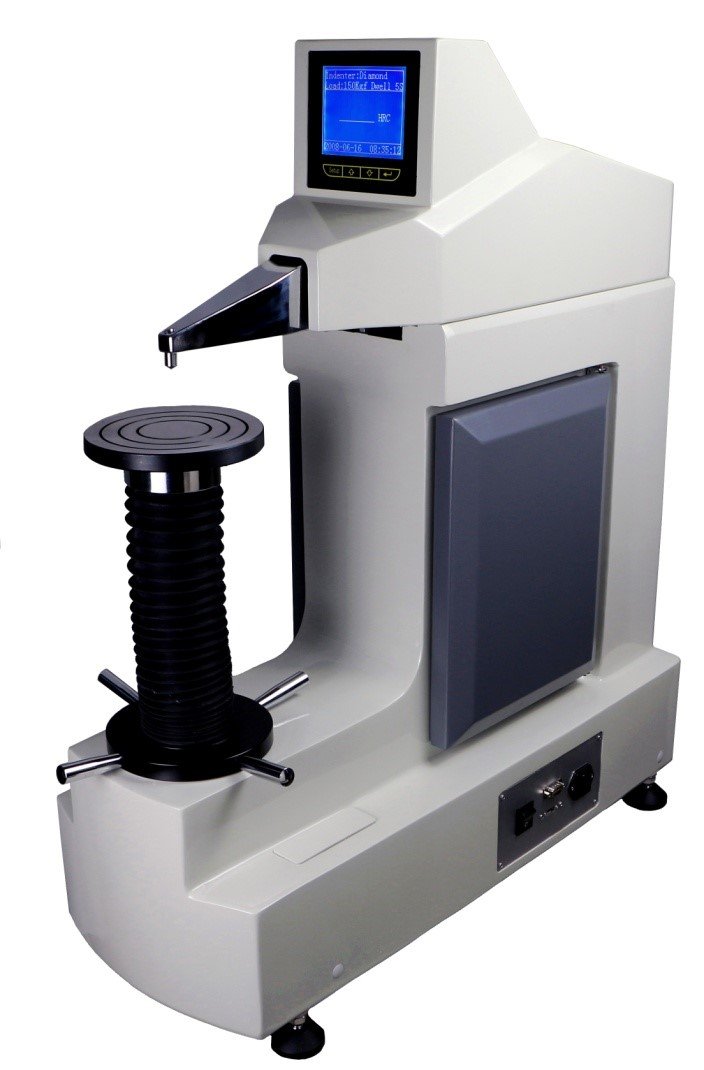
Time TH3000 Load Cell series Digital Rockwell Hardness Tester
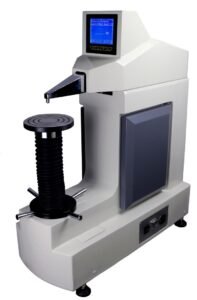
Available in two models: Rockwell Regular or Twin Rockwell (Regular/ Superficial)
Innovative and state-of-the-art Digital Rockwell Hardness Tester meeting ASTM E-18, & ISO 6508
- Horizontal Protrudent Indenter Design, suitable also for internal and external testing
- Modern design with Titanium metallic finish
- Load-cell Type (no dead-weights anymore, easy installation)
- Testing Rockwell hardness on Both metallic and non-metal materials such as plastic
- Testing on Surfaces difficult to reach
- Testing internal surface of rings and tubes with diameters over 23mm
- Testing external surface of round bars with diameters over 3mm
- Automatic test procedure
- High definition backlight LCD
- Simple and easily selectable operation menu
- Large data storage capacity with USB output / built-in printer
| Specifications: | Time TH3000 + (Rockwell Regular) | Time TH3200 +(Twin model) |
| Hardness Scales | Rockwell A, B, C, D, E, F, G, H, K, L, M, P, R, S, V | Rockwell A, B, C, D, E, F, G, H, K, L, M, P, R, S, V |
| 15 scales in total | 15N, 30N, 45N, 15T, 30T, 45T, 15W, 30W, 45W, 15X, 30X, 45X, 15Y, 30Y, 45Y
30 scales in total |
|
| Resolution | 0.1 Rockwell Unit | |
| Pre-Load | 98.07N / 10kgf | 98.07N/10kgf, 29.42N/3kgf |
| Total Load | 588.4N/60kgf, 980.7N/100kgf, 11471N/150 kgf | 588.4N/60kgf, 980.7N/100kgf, 11471N/150 kgf
147.1N/15kgf, 294.2N/30kgf, 441.3N/45kgf |
| Display | Matrix Backlight LCD | |
| Operation method | Membrane keypad, menu | |
| Test Process | Automatic | |
| Load Duration | 1-50 seconds, Can be set, dynamically displayed and stored | |
| Functions: | · Upper/ Lower hardness limits setting & alarming
· Data statistics: Max., Min., S, R · Scales conversion: convert measured value to Vickers, Brinell, Leebs, etc. · Curvature correction: Cylinder & sphere |
|
| Applicable standard: | ASTM E-18, ISO 6508 | |
| Testing Space: | Vertical: 300mm, Horizontal: 220mm | |
| Tested workpiece: | External Cylinder: Min. Ø 3mm, Internal Cylinder: Min. Ø 23mm | |
| Voltage: | 110V/220V 50Hz, 4A | |
| Frame Deformation: | +/- 0.5% (ASTM E18 Requires less than +/-1%) | |
| Transducer Accuracy: | +/- 0.3μm Regular Rockwell (ASTM E18 Requires +/- 1.0μm Regular Rockwell) +/- 0.5μm Superficial Rockwell (ASTM E18 Requires +/- 0.5μm Superficial Rockwell) | |
| Repeatability: | 0.5 up to 1.0 (HRC Scale) (ASTM E18 Requires, 1.0, 1.5 up to 2.0 on the HRC scale) | |
| Tolerance of applied force: | Within 0.5% (ASTM E18 requires 0.6-0.75%) | |
| Dimensions: | 690 x 280 x 860mm, 690 x 280 x 860mm | |
| Weight: | 86kg (Net weight) | |
| Weight: | 110kg (Gross weight) | |
| Standard Configuration: | Main unit, 1 HRC Test Block, 1 HRB Test Block, (one N or T scale Block with Time TH3200), 120° diamond penetrator, 1/16″ steel ball indenter, 1/16″ steel balls, Round flat anvil Ø 150mm, V- anvil, USB connection cable, Power cable, Manual | |
You must be logged in to post a review.
Reviews
There are no reviews yet.